by bungalow101 | May 8, 2024 | Preservation groups
The 2 greatest gifts my mother gave me, a love of art & an huge affinity for things old, gave me my third gift, historic preservation activism in my bungalow neighborhood. This is an article I wrote for my neighborhood association newsletter many long years ago.
HISTORIC PRESERVATION ACTIVISM IN YOUR BUNGALOW NEIGHBORHOOD
 My husband & I often walk in the evening, sometimes on our block, sometimes on other blocks of bungalows. We meet many of our neighbors, walking the dog, or imploring the pink-helmeted young one to get off her scooter & come in for her bath and bedtime tale.
As we stroll, we see blue flickering lights in the windows of too many houses. We speak of decades past when life was lived, & not merely observed. It seems that every grandmother participated in improving the world around her. Some had some exceptional talents, be it baking or knitting, or growing roses & these talents were freely offered in aiding the community- women’s clubs, bake sales, school plays, garden clubs. Some worked to change the community, advocating for children’s & women’s rights. We choose to live in old neighborhoods because we wish to recapture some of the warm community spirit of those past decades.
The best thing about neighborhood activism is that you meet wonderful & talented people like yourself & you have a great time. These people are well-known & broadly loved for their contributions. They decided to do something to improve our environment & then did it. An inclusive group, their doors & hearts are open to receive you, your talents & help-whatever they may be.
Another great thing is that it creates a small town environment for you. The world becomes a less anonymous place because you see people you know at the grocery store, the post office & just driving the street. You become part of a community.
HOW TO GET STARTED IN BUNGALOW NEIGHBORHOOD HISTORIC PRESERVATION
Join your neighborhood organization. Their websites & Facebook pages should give you enough information to see what they have that could interest you. Send in your membership application & your check (Your money pays for the mailings that keep you informed of local activities & interests.) & count yourself amongst those who make a difference. Attend general meetings, & events.
Love old houses? Many bungalow neighborhood have historic preservation committees & help ensure the survival of our wonderful vintage buildings. Ours was very active & we produced many events with local & national guest speakers & even a historic documentary film about the neighborhood! Many old bungalow neighborhoods have been revitalized in the past couple of decades, turning from blighted, crime-ridden areas to beautiful streets of proud homeowners. In almost every one, this was accomplished through the intelligent & hard work of those in the association. A number of them worked with low-income families who were in danger of being uprooted, to take them out of often unsafe, derelict housing, & established improved housing for them.
Additionally, participation allows you to take ownership of a greater sphere. These grassroots activities can create effects at city, county & state levels & can actually even impact decisions made by the fed’s, such as highways built with federal funds.
OH, THE PRESERVATION POSSIBILITIES!
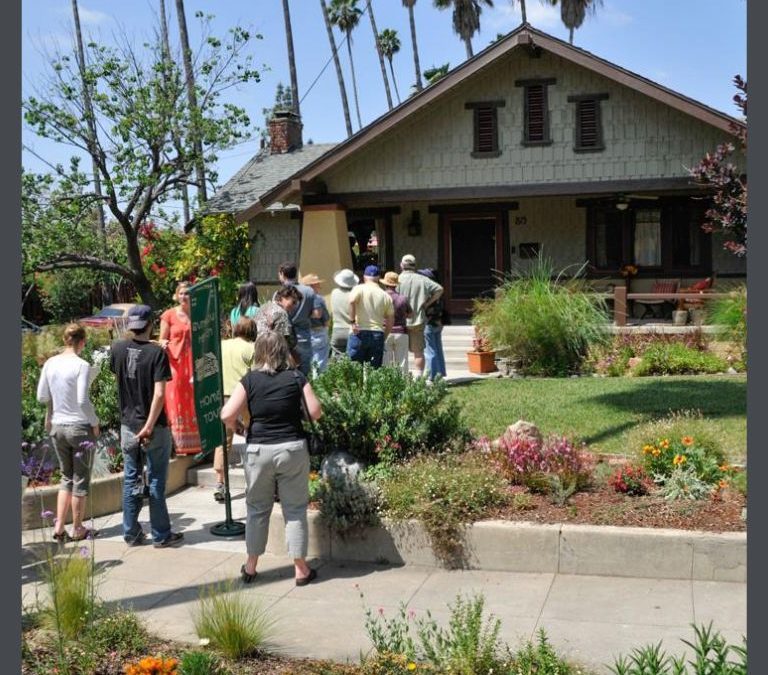
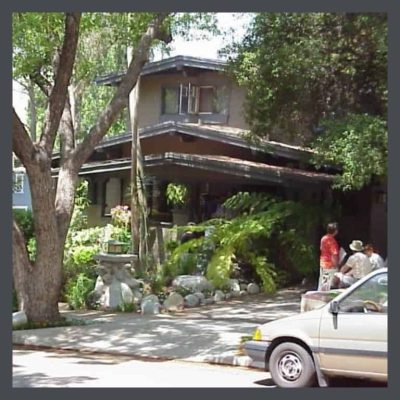 These images are from our first Eclectic Eagle Rock Home Tour, one of the best days of my entire life! The first one is one of the homes on the tour, the Hanson Puthoff House, a meticulously restored bungalow build by one of the foremost painters of the Plein Air Movement.
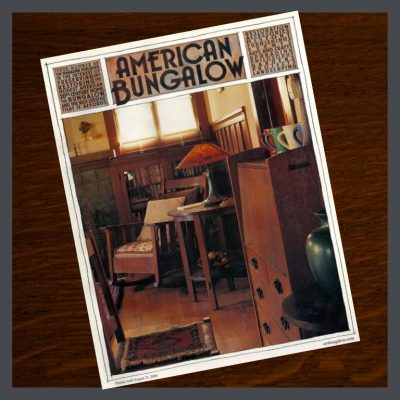
This house is truly a time machine. The kitchen is an authentic as one would find in a house museum & beautifully designed because the owners of the house are artists themselves. I had invited (cajoled, begged, pleaded, harrassed the editor of American Bungalow Magazine to the tour & they chose this house to feature in Issue 28. The tour goers were fascinated to learn the history of the house, from the life of Puthuff, through the years that it housed a sweatshop, with the workers stashed at night in the crawspace’ through the beautiful work done by the current owners. The lovely stone column with the lamp atop looks like it has always been there, but in fact was newly crafted & is featured on the cover of Jane Powell’s BUNGALOW DETAILS: EXTERIOR.
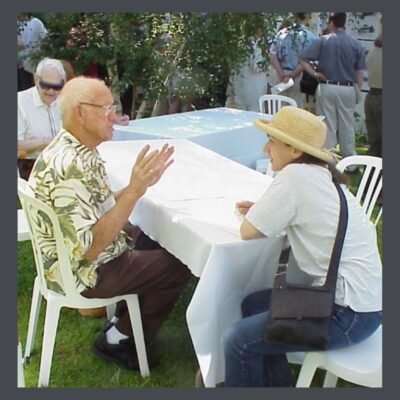 This last image shows a pair in rapt conversation. He grew up in Eagle Rock in its early years & was telling her tales of his life there as a boy. We had invited several town elders to attend the tour & people stood in line to converse with them. I curse myself that in this neighborhood of film industry professionals, I did not have the foresight to produce a historic documentary film while we still had these folks around, or at least film the tour. So glad that I was smarter several years later, in my new, bungalow neighborhood.
For neighborhoods that do not have these activities & would like them, I am working on 2 manuals- one on how to create a successful home tour, & another on how to produce a workshop to teach people how to restore their historic homes. I have helped establish these activities in 2 areas & they are very popular, (easy to do when you know how- & believe me when we first began, we were clueless & it was HARD!) Both events are good fundraisers & great for activating & uniting a community. Please contact me if you are interested in more information on either of these activities for your neighborhood.
READ THESE ARTICLES TO LEARN HOW TO START & RUN A SUCCESSFUL PRESERVATION COMMITTEE
NEIGHBORHOOD PRESERVATION COMMITTEES- BUILDING COMMUNITIES
NEIGHBORHOOD PRESERVATION COMMITTEE MEMBERSHIP ACTIVITIES
PUBLIC EVENTS THAT CAN BE PRODUCED BY YOUR NEIGHBORHOOD PRESERVATION COMMITTEE
MAKING YOUR NEIGHBORHOOD HISTORIC PRESERVATION COMMITTEE WELL KNOWN
AGENDA FOR YOUR FIRST NEIGHBORHOOD PRESERVATION COMMITTEE MEETING
BASIC HISTORIC PRESERVATION GLOSSARY OF TERMS
WHAT IS A HISTORIC DESIGNATION, ANYWAY?
 STAY IN THE BUNGALOW KNOW!!!
Sign up for our newsletter & receive our FREE E-book, 7 VITAL Things to Do Before You Hire a Contractor.
by bungalow101 | May 7, 2024 | ALL AROUND, Preservation groups
“There may have been a time when preservation was about saving an old building here & there, but those days are gone. Preservation is in the business of saving communities & the values they embody.”
~Richard Moe, President, National Trust for Historic Preservation
1993-2009
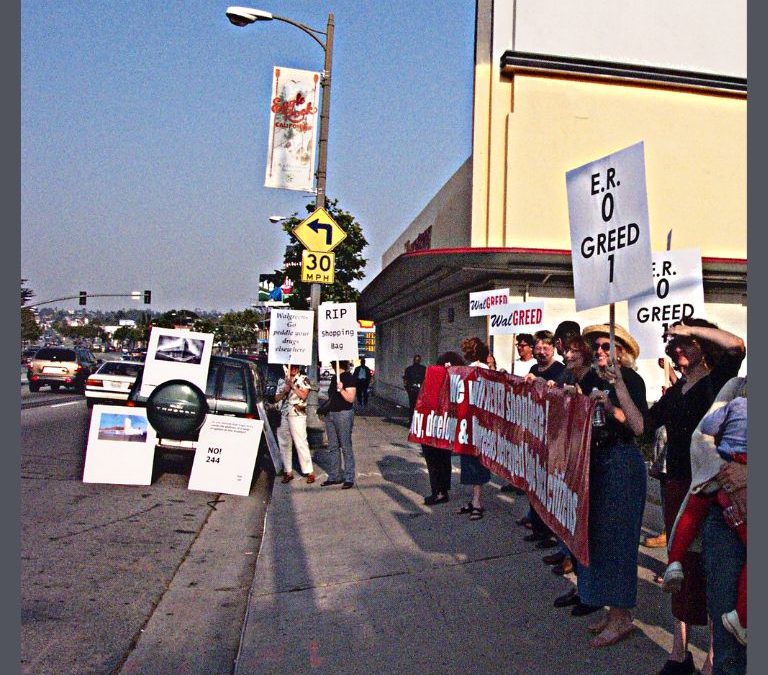
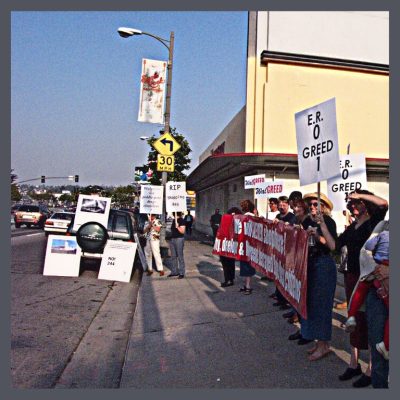
 I have had the honor of leading two neighborhood historic preservation committees in two different states. Moving away from these neighborhoods, I was dismayed that nobody had taken over running the committees’ activities. Foolishly, I had made the mistake of thinking that everyone knew how to chair a preservation committee, ignoring the fact that I had had incredible mentors who had guided me. From my mother teaching me about history & architecture, to the PhD archeologist who took me under his wing when I arrived in Tampa, still traumatized from the loss of the Shopping Bag Building, to the late, great Jane Powell, they taught me how to effectively DO SOMETHING ABOUT IT!!!
In these posts on neighborhood preservation activism, I am going to download my head of all my study, all my experience, my wins, my losses, all the wisdom gifted to me by my much beloved mentors. (Sadly, many of them now gone.) Hopefully I can do this in a way that you young ‘uns will find amusing, enlightening & inspiring. Maybe useful too! I am going to speak to you at my own level of education when I decided I had shed enough tears over the destruction of old buildings, & was lucky enough to meet Jane. That story is here. (It’s just a moment of nostalgia.)
THE IMPORTANCE OF NEIGHBORHOOD HISTORIC PRESERVATION
Every neighborhood has a unique story, the social, financial & technological evolution of the people who lived there. These stories are expressed in the built environment- the houses, the businesses, the churches. You can walk down the street & be in touch with the history of the place you live. It gives my heart joy!
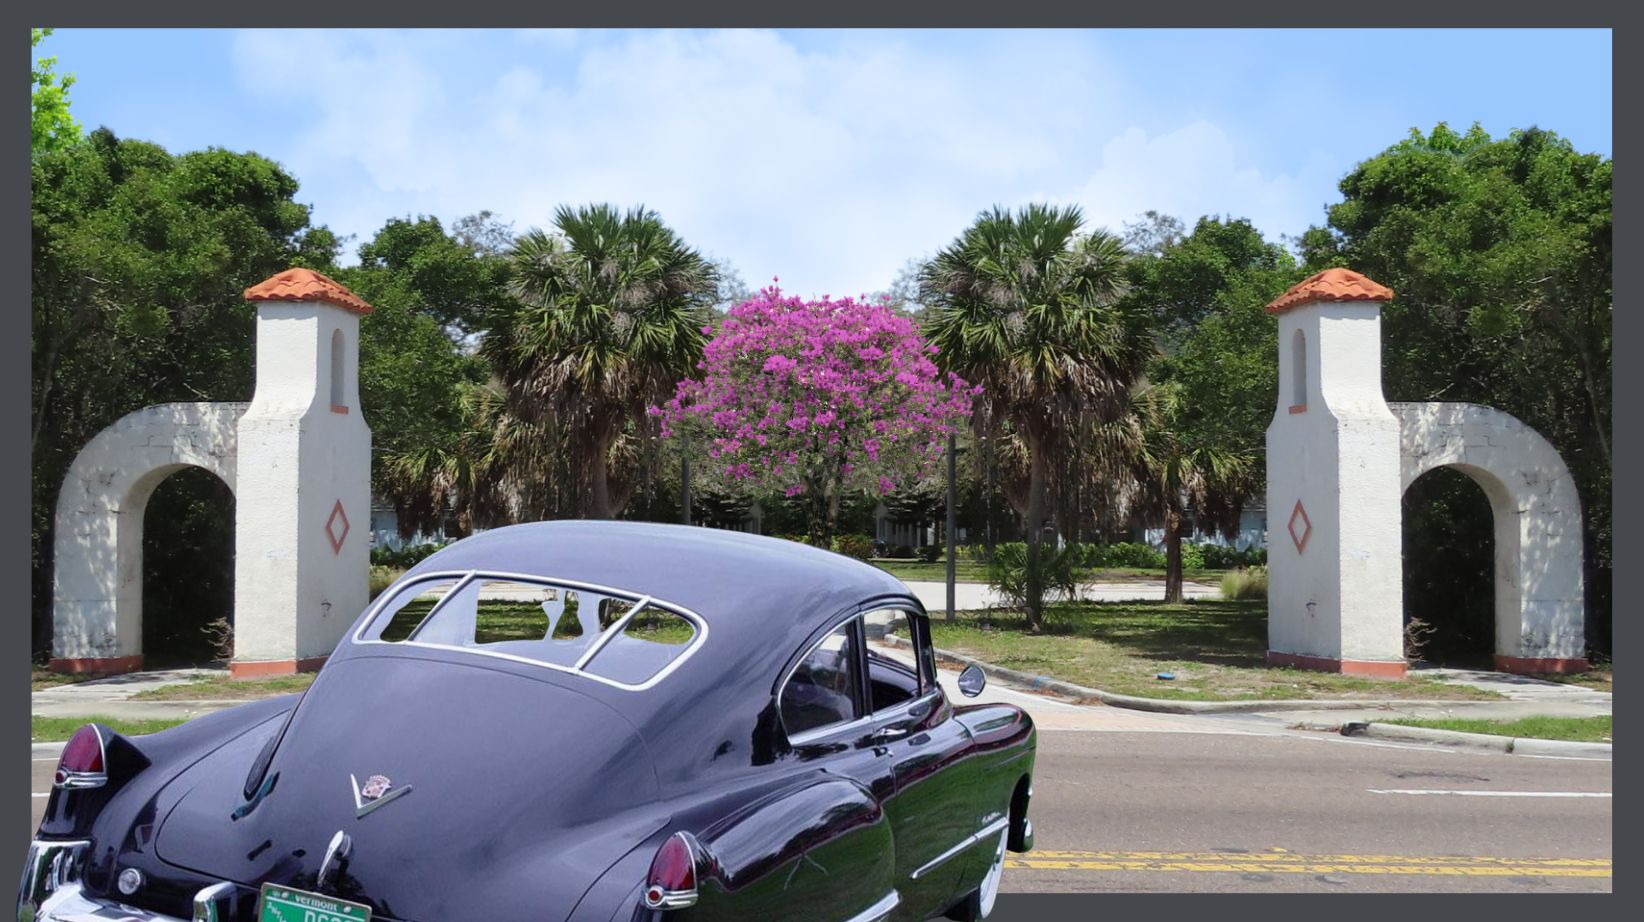
I came to neighborhood activism through my passion for saving our built heritage, so recently, when we discovered that the City was planning to demolish the stucco entry gates leading to our Post WWII neighborhood, due to structural safety concerns, I knew what to do.
First, it was necessary to discover the level of interest shared by the residents, so a our small, hastily assembled team performed a door-to-door survey. We were amazed at the passion that we encountered, the fists raised!
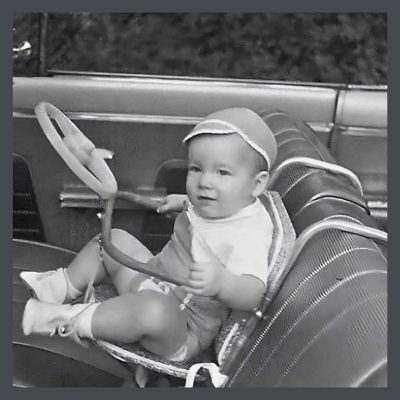 Many people have long histories with the neighborhood. Three of them, in their late 70’s, had grown up here, had been childhood friends. Their moms were great chums, chatting every day on the phone, over coffee & cigarettes (I’m sure!) The arches had been a landmark for them for decades- as tired little ones sagging in their aluminum frame car seats coming home after a too long day of errands with Mom; as kids on their bikes, venturing out into the big, wide world without their parents for the first time & later, as teens, directing their dates on where to turn to pick them up to escort them to the prom.
Surprisingly, many of most vocal are more newly arrived, myself included, & had been drawn to buying in the neighborhood by the entry arches. These lovely structures identify. They invite. They welcome. They symbolize home.
It was easy to rally this passion in a campaign to SAVE THE ARCHES & though it took much hard work, we quickly raised the funds to qualify to apply for a matching grant from the City to restore them, thereby ensuring their soundness. (Still awaiting final word, but we are hopeful!) Impressed by the neighborhood response, the threat of the wrecking ball evaporated, & this symbol of our small subdivision would be made safe & sound, preserved for the next generation.
The most wonderful part about having this common purpose, is the neighborhood spirit that has been generated. We had a yard sale to which at least 25% of the families donated. The sale itself was quite the party! Neighbors introduced themselves to neighbors & to this Boomer girl who grew up in a tightly knit, 1950’s Phoenix suburb much like this one, it felt warmly familiar.
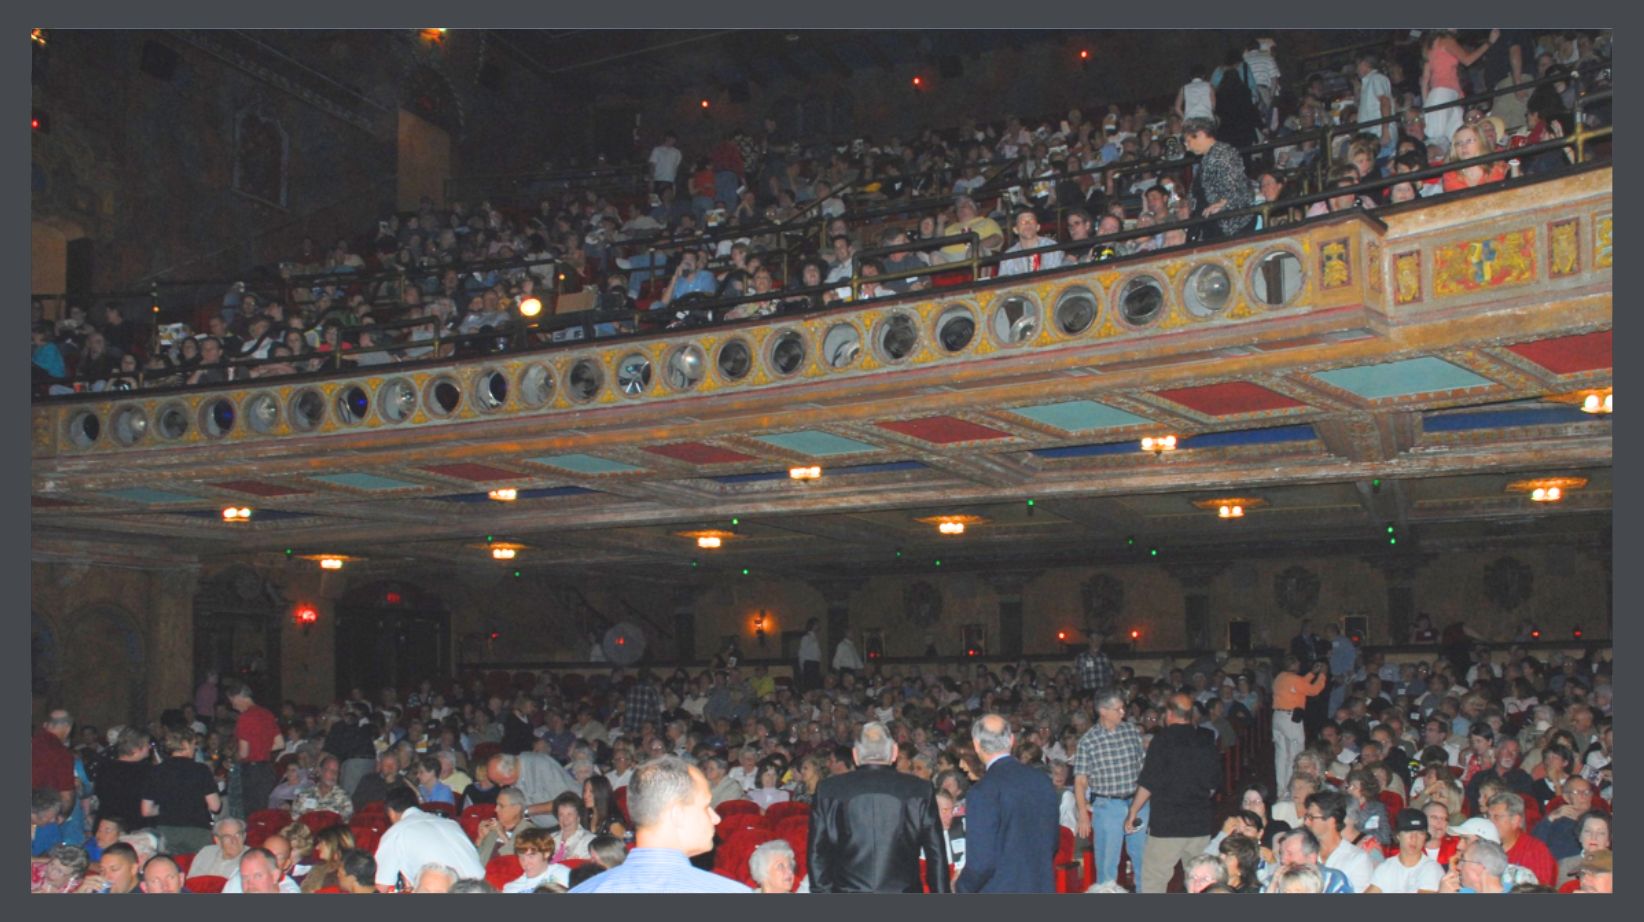
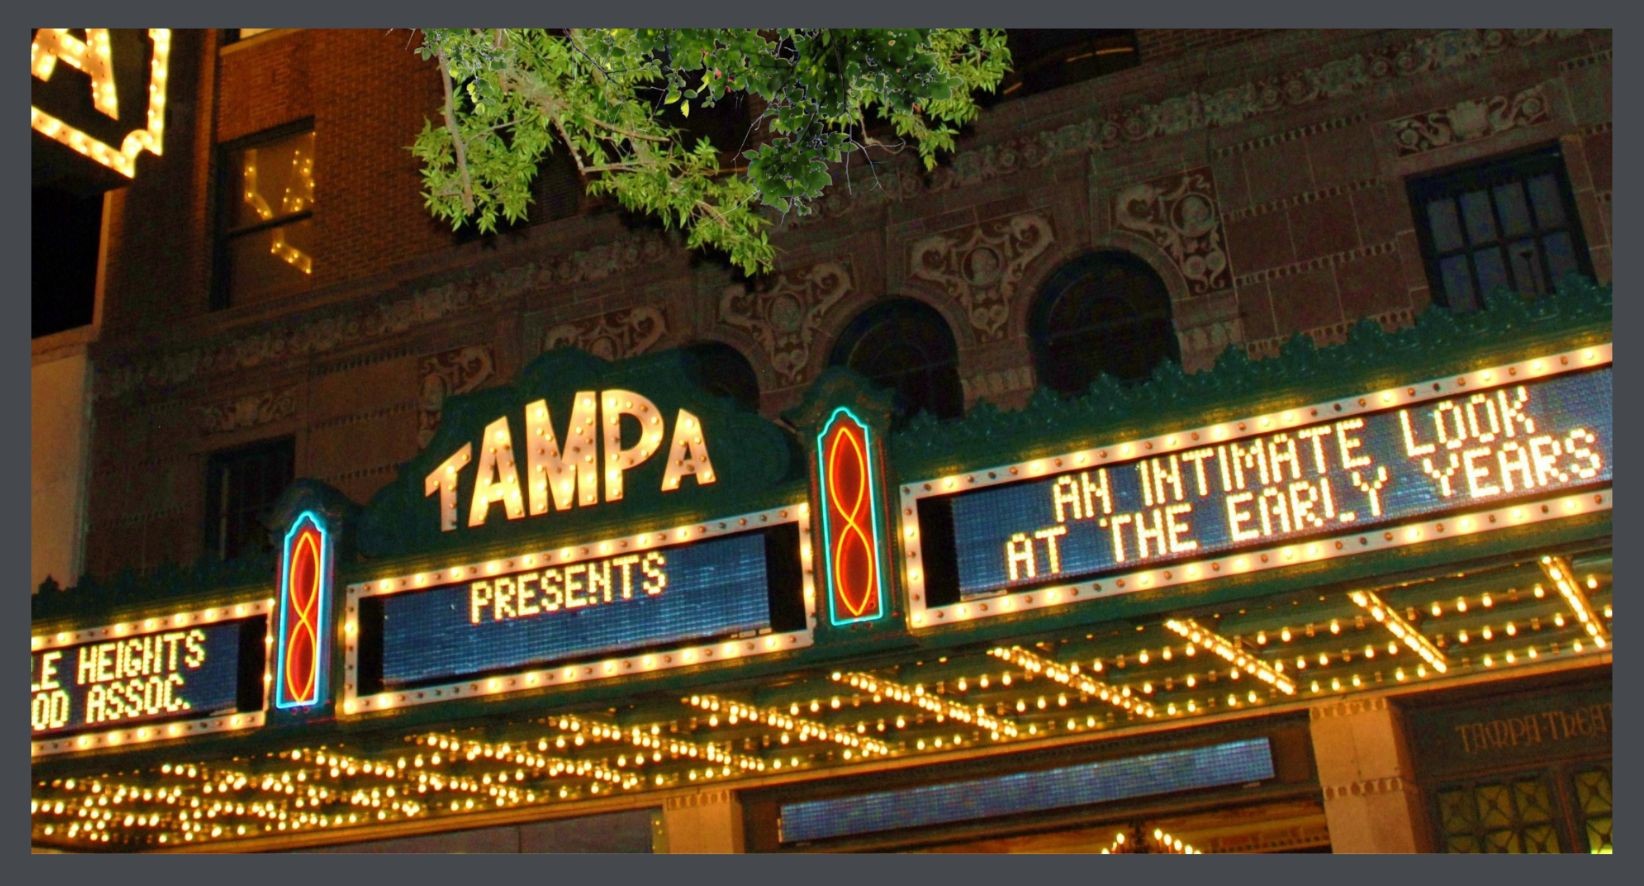
Earlier, I had produced for my neighborhood association, a historic preservation documentary film about the establishment of a our 1920’s, bungalow neighborhood. The premier at a 1920’s, downtown extravaganza theatre was attended by 1,500 people. (Actually, it was more like 1,800. The fire department made us turn away about 300.) All the residents, both past & present, were so excited & for at least one elderly, wheelchair bound woman, it was the first time venturing out for years. I reserved special seating for all the people who had lived in the neighborhood before WWII. Theirs was a touching & festive reunion. It was the most wonderful & rewarding experience of my entire life.
SO WHAT DOES A NEIGHBORHOOD PRESERVATION COMMITTEE DO?
 Its basic purposes are to:
• Educate stakeholders on the importance of preserving the cultural heritage of the neighborhood. This includes the many, strong, economic benefits.
• Teach them about the architectural history of their houses & how to restore & maintain them, as well as their commercial & religious buildings.
• Collect, organize & maintain data on the social & cultural history of the neighborhood & its individual structures.
• Provide great fellowship for those passionate about preservation, & give them a platform from which to communicate their passion & knowledge to others.
In the long run, a preservation historic committee allows a group of people who might hail from any & all parts of the globe, to share a common history which helps build community pride. This results in a more beautiful, safer, friendlier, happier, better maintained neighborhood, & incidentally, it can raise a neighborhood’s profile, resulting in higher home values. Bottom line- people love their shared neighborhood history. It binds them.
GET MORE INFORMATION ABOUT NEIGHBORHOOD HISTORIC PRESERVATION COMMITTEES
PRESERVATION ACTIVISM IN YOUR BUNGALOW NEIGHBORHOOD
NEIGHBORHOOD PRESERVATION COMMITTEE MEMBERSHIP ACTIVITIES
PUBLIC EVENTS THAT CAN BE PRODUCED BY YOUR NEIGHBORHOOD PRESERVATION COMMITTEE
MAKING YOUR NEIGHBORHOOD HISTORIC PRESERVATION COMMITTEE WELL KNOWN
AGENDA FOR YOUR FIRST NEIGHBORHOOD PRESERVATION COMMITTEE MEETING
BASIC HISTORIC PRESERVATION GLOSSARY OF TERMS
WHAT IS A HISTORIC DESIGNATION, ANYWAY?
The Florida Trust for Historic Preservation offers a comprehensive guide to historic preservation, appropriate for the novice as well as the more educated. I recommend that you check it out.

STAY IN THE BUNGALOW KNOW!!!
Sign up for our newsletter & receive our FREE E-book, 7 VITAL Things to Do Before You Hire a Contractor.
by bungalow101 | May 6, 2024 | ALL AROUND, Preservation groups
 Just knowing these basic historic preservation glossary terms will take you far in understanding the principles & practices of historic preservation. The majority of the terms were developed by The U.S. Department of the Interior which protects & manages our country’s natural resources & cultural heritage through the National Park Service, providing scientific & other information about those resources. The Secretary of the Interior’s Standards for the Treatment of Historic Properties is a body of information, researched & formulated by top preservationists. It was written to provide guidance to historic building owners & building managers, preservation consultants, architects & contractors prior to beginning work. Much of the material below is copied directly from those materials. We’ll start with the most important concepts & then go alphabetically.
Please let me know if any of these definitions are difficult to understand. They form preservation 101 & are very important to the study of the subject.
THE FOUR TREATMENTS FOR HISTORIC PROPERTIES- NPS

Restoration
The act or process of accurately depicting the form, features, & character of a property as it appeared at a particular period of time by means of the removal of features from other periods in its history & reconstruction of missing features from the restoration period. The limited & sensitive upgrading of mechanical, electrical, & plumbing systems & other code-required work (primarily with regard to safety) to make properties functional.
Reconstruction
The act or process of depicting, by means of new construction, the form, features, & detailing of a non-surviving site, landscape, building, structure, or object for the purpose of replicating its appearance at a specific period of time & in its historic location.
Rehabilitation
The act or process of making possible a compatible use for a property through repair, alterations, & additions while preserving those portions or features which convey its historical, cultural, or architectural values.
Renovation
Modernization of an old or historic building or structure that may produce inappropriate alterations or eliminate important features & details.
THE BASIC HISTORIC PRESERVATION GLOSSARY
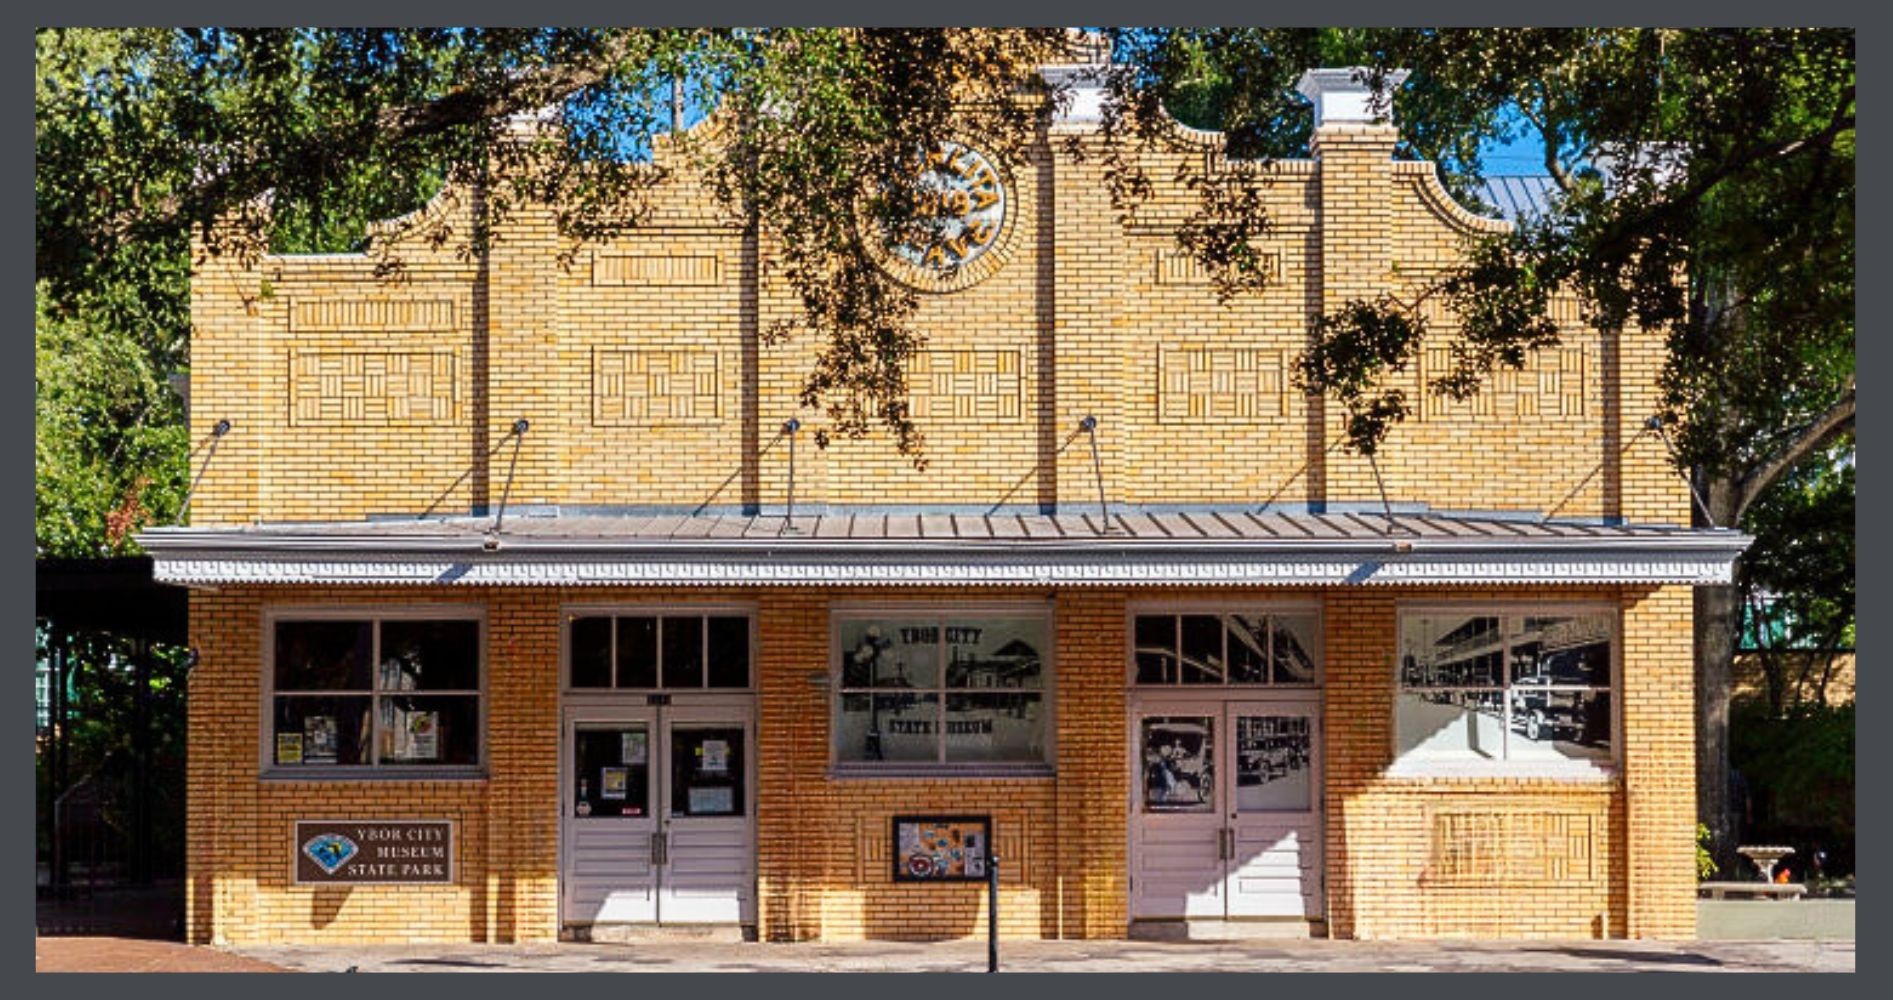
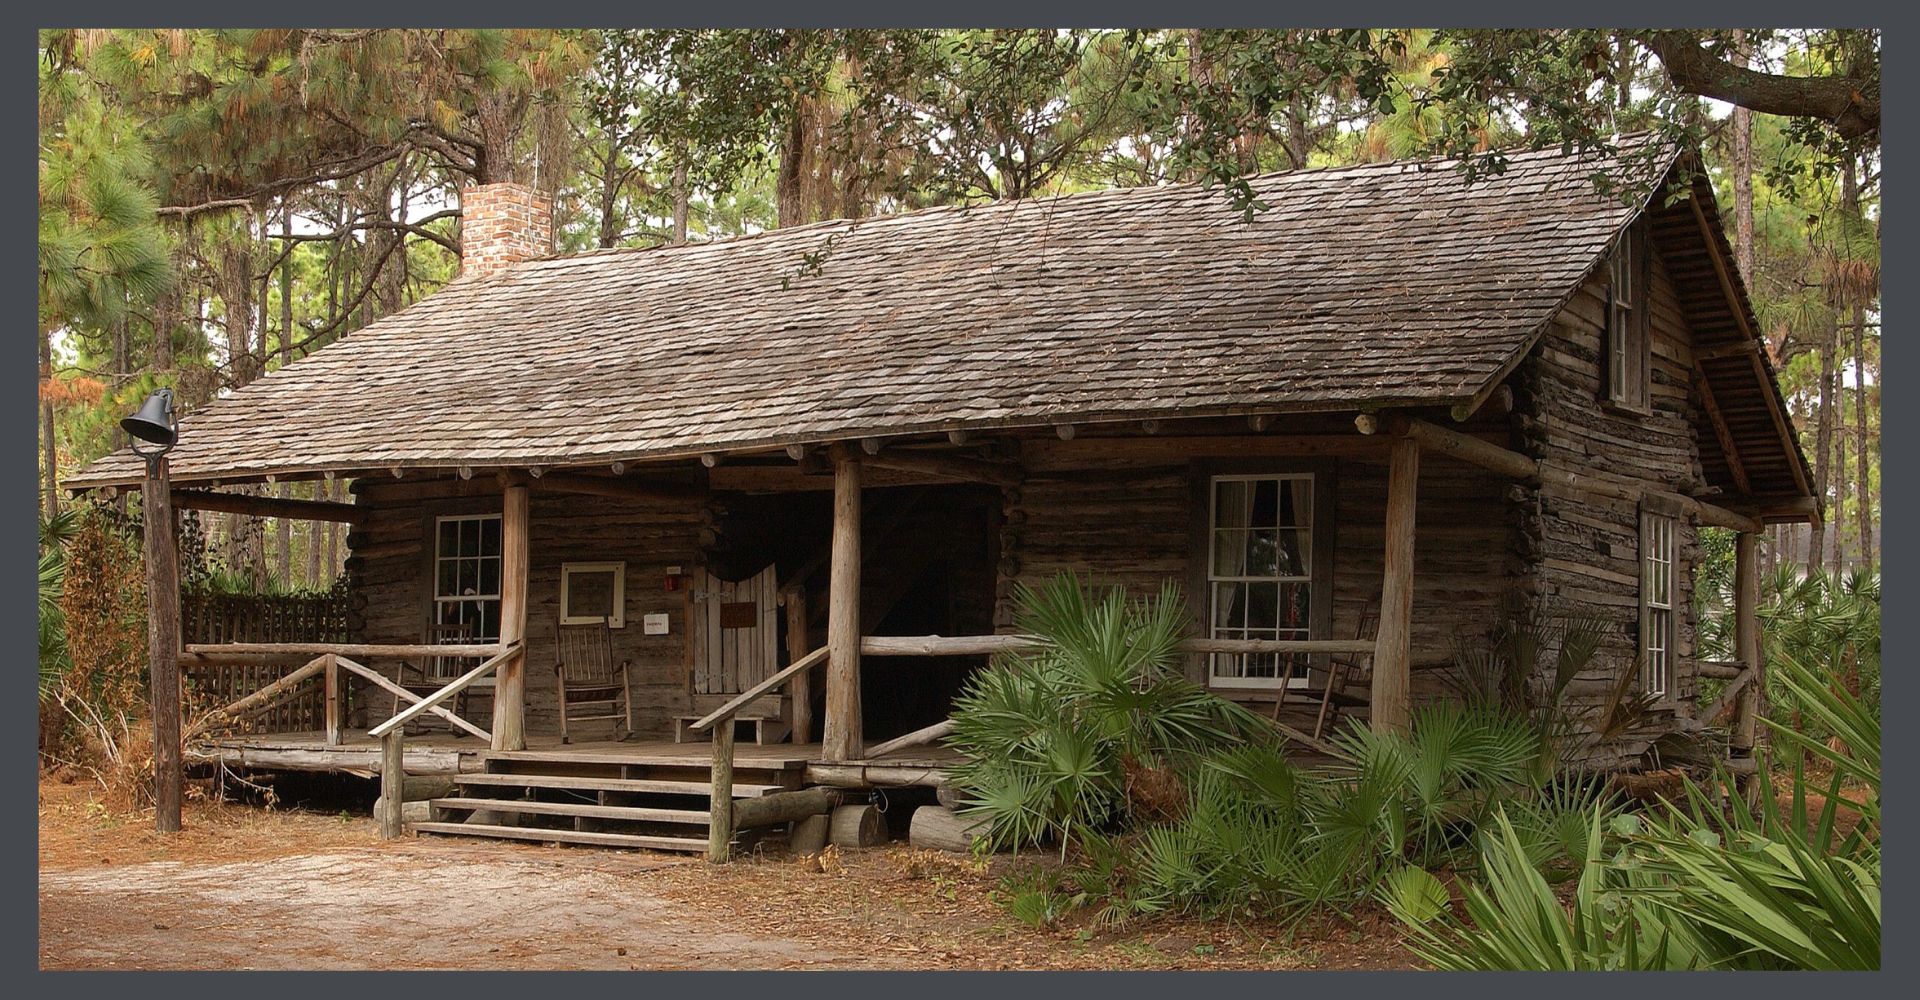
Ybor City Museum, Tampa, Florida housed in the historic Ferlita Bakery.
Adaptive Reuse
The conversion of a building to a use other than that for which it was originally designed, optimally, respecting the historic features of the building.
Alteration
The change in the exterior architectural features of any improvement or addition.
Character-defining features
A prominent or distinctive aspect, quality, physical feature or characteristic that contributes significantly to the physical character of a resource. This may include the overall shape of the structure, building or property, its materials, craftsmanship, decorative details, as well as the various aspects of its site & environment.
Contributing structure
During the course of designating a district, all of the structures, objects & sites are inventoried. The ones that contribute to the historic character of the district, were built during the district’s period of significance, & retain their appearance from that time, are considered contributing structures. The term also includes any structure that was identified as “potentially contributing” in any historic district. (See non-contributing structure above.)
Demolition by neglect
The destruction of a building through abandonment or lack of maintenance.
Design Guidelines
A preservation & redevelopment management tool used to help retain the historic character of a designated historic district (or districts, as they may be developed to cover more than one). Compiled & used in conjunction with a local preservation ordinance, project review by a local preservation commission, & other construction permitting regulations, they help ensure that historic properties are protected & that new construction respects district character.
They provide guidance addressing alterations & improvements to those historic properties, for new construction & development, for regulating demolition & dealing with neglected properties, & also recommendations for appropriate maintenance practices. They serve to guide individuals, businesses, architects, designers, as well as the local historic commission, in making consistent & objective decisions involving work & development within the historic districts.
Historic District
A geographically definable area that possess a significant concentration of buildings or sites that have been united architecturally or historically. Individual buildings in a district need not be individual historic landmarks; they can derive their significance in association with the district. A district occasionally also comprises individual elements separated geographically but thematically linked by association or history.
In other words, this is an area where older buildings are considered significant or valuable for architectural or historical reasons.
Historic Fabric
The physical material of a building, structure, neighborhood or city that is historic; the original physical materials.
Historic Property
A district, site, building, structure or object significant in American history, architecture, engineering, archeology or culture at the national, State, or local level.
Historic Resources Survey
The process of systematically identifying, researching, photographing & documenting historical resources within a defined geographic area.
Integrity
The authenticity of a property’s historic identity, evidenced by the survival of physical characteristics that existed during the property’s historic or prehistoric period.
National Register Criteria
The established criteria for evaluating the eligibility of properties for inclusion in the National Register of Historic Places.
National Register of Historic Places
The comprehensive list of districts, sites, buildings, structures, & objects of national, regional, state, & local significance in American history, architecture, archaeology, engineering, & culture kept by the National Park Service under authority of the National Historic Preservation Act of 1966. It is the official national list of historic places & objects deemed worthy of preservation.
Noncontributing structure
During the course of designating a district, all of the structures, objects & sites are inventoried. A building, structure, object or site that does not contribute to the historic character of the district, or were not built during the district’s period of significance, & do not retain their appearance from that time are considered non-contributing. (See contributing structure above.)
Object
Entities that are primarily artistic or are relatively small in scale & simply constructed, such as a statue or fountain.
Period of Significance
The date or span of time within which significant events transpired, or significant individuals made their important contributions to a historic district.
Preservation ordinance
The legislation enacted to protect the historic resources in your community. It protects buildings & neighborhoods (or areas) from destruction or insensitive rehabilitation. Its creation establishes a review board & the processes necessary to ensure this protection.
State Historic Preservation Officer, SHPO
An official within each state appointed by the governor to administer the state historic preservation program & carry out certain responsibilities relating to federal undertakings within the state.
State Historic Resources Survey
All identified & evaluated historical resources maintained by the SHPO. It includes all those historical resources evaluated in surveys that were conducted in accordance with criteria established by the SHPO & were thereafter determined eligible for, or listed in, the various federal, state or local historical registration lists.
State Historical Building Code (SHBC)
The building code which applies to all qualified historical structures, districts, & sites designated under federal, state or local authority. It provides alternatives to the Uniform Building Code in cases consistent with building regulations for the rehabilitation, preservation, restoration, or relocation of qualified historic structures designated as historic buildings.
Streetscape
The appearance or view of a street as created by its width, degree of curvature, paving materials, design of the street furniture, & forms of surrounding buildings.
Style
A type of architecture distinguished by special characteristics of structure, materials & ornament & often related in time.
Urban renewal
A series of federally funded public works projects that in the 1950-the early 60’s, resulted in the destruction of residential neighborhoods. Represented as a program to improve “blighted” neighborhoods & provide better housing conditions, urban renewal often involved displacement of families & annihilated established neighborhoods. Private homes & businesses were bulldozed, & entire neighborhoods uprooted, all to benefit politically powerful individuals & corporations. Many historic houses were taken by eminent domain & destroyed, making way for the erection of ugly, substandard housing.
In recent years, blighted historic neighborhoods all over the country have been revitalized. The neighborhoods that suffered urban renewal are not so fortunate. In those areas, there is little or nothing to bring back to life.
Vernacular
Structures designed & built without the aid of an architect or trained designer. The design of these buildings is based on ethnic, social, geographic or cultural traditions rather than on an architectural philosophy. They are usually built with local materials.
For full understanding, this basic historic preservation glossary should be used when you are studying any preservation materials. Knowing the words will speed your study & greatly increase your comprehension.
READ THESE ARTICLES TO LEARN HOW YOU CAN APPLY THIS INFORMATION TO SAVE OUR BUILT HERITAGE
PRESERVATION ACTIVISM IN YOUR BUNGALOW NEIGHBORHOOD
NEIGHBORHOOD PRESERVATION COMMITTEES- BUILDING COMMUNITY
NEIGHBORHOOD PRESERVATION COMMITTEE MEMBERSHIP ACTIVITIES
PUBLIC EVENTS THAT CAN BE PRODUCED BY YOUR NEIGHBORHOOD PRESERVATION COMMITTEE
MAKING YOUR NEIGHBORHOOD HISTORIC PRESERVATION COMMITTEE WELL KNOWN
AGENDA FOR YOUR FIRST NEIGHBORHOOD PRESERVATION COMMITTEE MEETING
WHAT IS A HISTORIC DESIGNATION, ANYWAY?
STAY IN THE BUNGALOW KNOW!!!
Sign up for our newsletter & receive our FREE E-book, 7 VITAL Things to Do Before You Hire a Contractor.
by bungalow101 | May 5, 2024 | ALL AROUND, Preservation groups
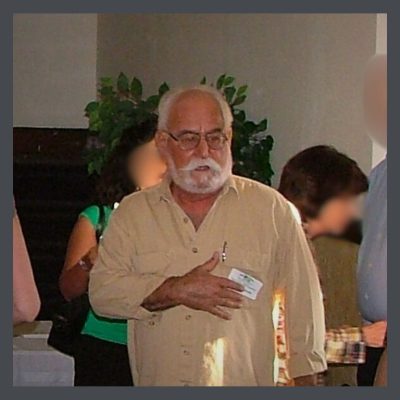 The members of my neighborhood preservation committee were the people with whom I felt the most kinship. When I left L.A. to live in Tampa, I purchased a bungalow only one block away from the chair of the committee, Dr. Steve Gluckman. A PhD archeologist, Steve was one of the brightest, warmest people I have ever known. Two decades earlier he had been one of the founders of the association & as it grew, he implemented the preservation committee.
Reeling from losing our fight in L.A. to save a Streamline Moderne grocery store, I was searching for sanctuary. Looking online for communities that had successfully fought destruction by big box stores, I found Steve who had led a winning campaign to save a street of historic bungalows in Tampa. I called him instantly. He answered my call as though he was standing by the phone, waiting for it to ring. At this terrible time in my life, I was ready for his warmth & sparkle.
Moving to Tampa, Steve took me under his wing & introduced me to the preservation community, providing me with instant friends & great resources. He educated me on the neighborhood & when the president of my L.A. association came to visit, he took her on an informative & amusing tour. He supported all my wild ideas & in general, was a true friend & a wise & patient mentor. He carried a little stool in the back of his truck & gallantly steadied me so I could climb into the cab & be ferried about this new, unfamiliar city.
 We lost him the night before he was scheduled to be filmed for the documentary about the neighborhood. It was an enormous loss to preservation, to our community & to all who knew & loved him.
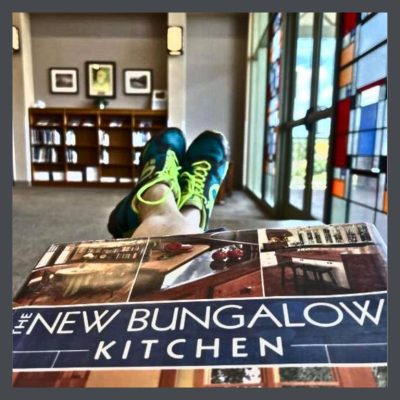
When the new library was built, a room was named to honor him. The room houses hundreds of books on preservation. The library allowed its policy of accepting donations of only new volumes to be set aside, so the room holds many valuable titles that have long been out of print. He would have loved it. (This photo was taken by one of my dearest friends & favorite committee members.)
IDEAS FOR YOUR NEIGHBORHOOD PRESERVATION COMMITTEE MEMBERSHIP ACTIVITIES
Read my previous article about the purpose of a preservation committee. It will fill you in on what you can achieve.
The committee had monthly meetings and here are some of the things we did at those meetings, & some things I have seen done by other groups that just seem fun.
1. We met at members’ old homes so the meeting always started with a short tour. Usually the homeowners were aware of at least a small amount of house history and had some knowledge of the home’s unique architectural features.
2. Film nights, for the committee. Here are some good ones. They are grouped by topic & some are very short so you can show several & discuss each one.
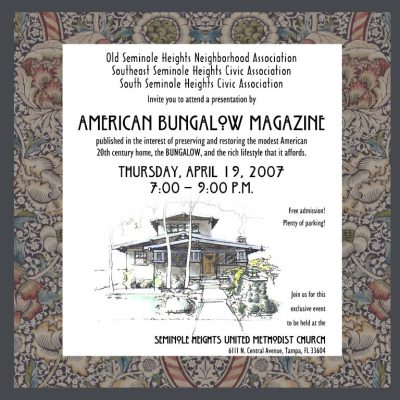
 3. We planned upcoming events, which we held about 4 times a year. The purpose of these events was to inform & educate, but they were also to interest new committee members to join. There were usually specific tasks that were required to prep & to host the events. We distributed those tasks & answered any questions. Here’s an example of a great one, when we hosted a talk by the publisher of American Bungalow magazine, John Brinkmann.
If a big event was coming up, perhaps the members would just meet, have a bit of a visit and a snack & then hit the streets to flier all the houses. Tip- make sure you include a contact number on your flier.
4. We went to the library & researched the history of our own houses so that we could teach people in the community to learn about theirs. We also gathered information on the houses featured on the upcoming home tour so that the brochures could be written & the docents could provide information to the visitors. Here’s an article on how to do this that you could use to teach those who are unfamiliar with the process. This is always a very popular activity!
5. Once a house’s history is uncovered, you can submit it for designation at various levels, depending on its sphere of significance. Your local municipality & state have their own criteria & process. Here’s how to get started. You could work on one as a group, or everyone could work on their own. I had my house listed at the City level, the next steward got it listed at the State level, which allowed her to receive a huge reduction in property tax. When I sold my house, this helped me ensure that the next owners would care for it & I did.
6. We went on field trips to museums and house museums. Sometimes the whole neighborhood would be invited, but often it was just the committee members so that they could get full benefit of the experience.
7. We learned the basics of historic preservation. The Secretary of the Interior is charged with developing standards & guidelines for the practice of historic preservation under the National Historic Preservation Act. We studied their Guidelines which are intended as an aid to assist in applying the Standards to all types of historic buildings. Each meeting touched on one, small aspect so that the information was easy to absorb.
This can be presented by a more knowledgeable member of the committee, someone from a local preservation group or a preservation architect or historian that you could find through your local AIA.
The National Register of Historic Places is the official list of the Nation’s historic places worthy of preservation & is part of a national program to coordinate & support efforts to identify, evaluate, & protect America’s historic & archeological resources. State Historic Preservation Officers (SHPO) assist in this work. Contact yours to see what resources they might be able to offer to your committee.
Your local County Historic Preservation Board is composed of community advocates, municipal representatives, & historic preservation professionals with expertise &/or knowledge in the historic preservation field. They can likely provide you with information & perhaps speakers.
If you do not have access to any of these, you can just download & print the materials & the whole group can figure it out together! I am creating a glossary of preservation terms & it will be linked from here when completed.
8. Learn about the different architectural styles of buildings that are to be found in your neighborhood. You can go to the same sources for information.
9. If you live in a designated historic area where there are guidelines for the treatment of the houses, learn about the guidelines. They are generally available online from your City’s website. Here is a page which has several examples that you can download & discuss with your committee.
https://www.tampa.gov/historic-preservation/info/design-guidelines
 10. Once you have a good idea of how each of these housing styles should look, you can award people who have done sensitive renovations in your neighborhood. You can even award folks who have done very little, maybe even just painted with historically appropriate colors. The key thing is that you want to call attention to preservation & you want to reward anything positive anyone is doing.
You can also give awards to people who have contributed to preservation efforts in your neighborhood.
These activities can bring a great deal of positive attention to your neighborhood, your association & your committee. The awards are presented at a public event for which you can get print & online press. You might be able to get grants to pay for the awards (banners, plaques, whatever) & also to pay for the presentation events.
I was the recipient of one of these awards for a Folk Victorian house I rescued & also accepted an award for our neighborhood association’s many preservation achievements.
11. Film neighborhood elders in interviews about the early years. “Oral histories are an ancient way of sharing knowledge from generation to generation & a great resource for learning more about place, whether it is a specific site, the history of a community that is still present, or one that has been lost.”
This is a video made by The National Trust on filming oral histories. They provide great guidance.
12. Put together these things & create a documentary film. These are the pieces.
1,800 people attended the premier of the film that I produced for my neighborhood association in Tampa. It was a wonderful occasion for many, re-uniting many friends & stirring many happy memories. Additionally, it gave the neighborhood some great exposure & the premier was a good money maker. Many years later this film is still being shown at events & still being sold.
Here is a sample of some films that have been produced. I swear- you can do it!!!!!! Feel free to contact me if you should need a little help to get started!
READ ALL THE ARTICLES BELOW & START A PRESERVATION COMMITTEE
NEIGHBORHOOD HISTORIC PRESERVATION COMMITTEES- BUILDING COMMUNITY
BASIC HISTORIC PRESERVATION GLOSSARY OF TERMS
PUBLIC EVENTS THAT CAN BE PRODUCED BY YOUR HISTORIC PRESERVATION COMMITTEE
MAKING YOUR NEIGHBORHOOD PRESERVATION COMMITTEE WELL KNOWN
AGENDA FOR YOUR FIRST NEIGHBORHOOD PRESERVATION COMMITTEE MEETING
WHAT IS A HISTORIC DESIGNATION, ANYWAY?
STAY IN THE BUNGALOW KNOW!!!
Sign up for our newsletter & receive our FREE E-book, 7 VITAL Things to Do Before You Hire a Contractor.
by bungalow101 | May 4, 2024 | ALL AROUND, Preservation groups
 The purpose of these events is to help people understand their old houses & to feel that they have better control over them, using best preservation methods & materials. They also provide the opportunity to recruit committee members. Only through education will we be able to create enough interest & noise to change minds, raise awareness & encourage action to save our built heritage.
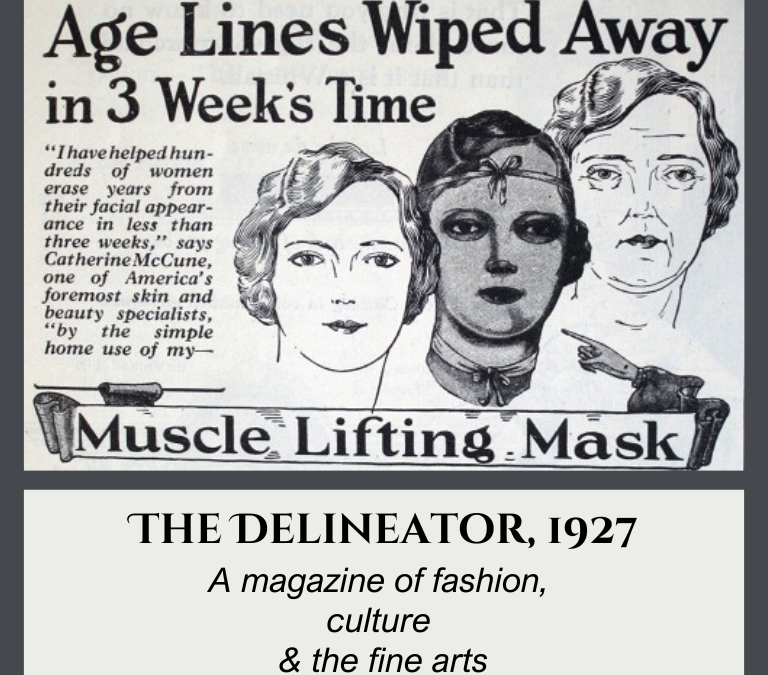
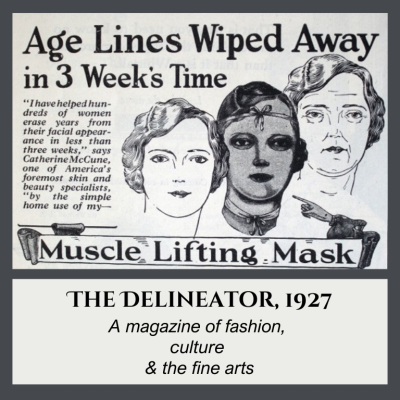
Preservation is a message that must be delivered repeatedly to combat the messages that the media/marketing delivers daily-
“Age lines wiped away…”
(Today, the global anti-aging market is valued at around 62 billion U.S. dollars in 2021 & is expected to increase to some 93 billion by 2027.)
“Replace your old wood windows!”
“It’s a miracle material, never requiring any maintenance.”
“7 ways to make your old house look like a new one.”
And here we are, carrying the message that old is beautiful. It’s not that we can’t get it across. We can. We just have to be out there delivering it in an interesting, easy to understand manner. Again & again.
Some of the ways that we can do this in a public forum are slurped from the page for committee activities. They can be done/promoted to a small group or a large one. In a separate article on marketing, I will tell you some good ways to promote these activities to increase your committee’s visibility & increase attendance.
I strongly suggest that you provide name tags for attendees to fill out & wear. Ask them to include their style of house on the tag. This is a good conversation starter!
HERE ARE SOME ACTIVITIES & EVENTS THAT WILL INCREASE THE INTEREST IN PRESERVATION IN YOUR NEIGHBORHOOD
1. Film night.
Here’s a curated list of some of the most entertaining & informative preservation videos on YouTube. Some of them are short & you could provide a question & answer period between each one.
2. After you have a few committee members who are familiar with doing house history research, offer to help your neighbors with learning to research theirs. Maybe pair 2 or 3 newbies up with a more experienced person & let them
work together.

3. Broadly promote field trips to museums and house museums. Arrange for a special group tour. Include time for lunch at the venue to provide fellowship. Be a good host, introducing people to one another, ensuring no one feels left out.
4. Teach your community about the different architectural styles of buildings that are to be found in your neighborhood. This can be presented by a more knowledgeable member of the committee, someone from a local preservation group or a preservation architect or historian that you could find through your local AIA.
5. Award people who have done sensitive renovations in your neighborhood. You can even award folks who have done very little, maybe even just painted with historically appropriate colors. The key thing is that you want to call attention to preservation & you want to reward anything positive anyone is doing.
You can also give awards to neighbors who have contributed to preservation efforts, including those on your committee. These activities can bring a great deal of positive attention to your neighborhood, your association & your committee. The awards are presented at a public event for which you can get print & online press. You might be able to get grants to pay for the awards (banners, plaques, whatever) & also to pay for the presentation events. The Chicago Bungalow Association has some great award programs & they are a very friendly & helpful organization.
6. Host a field trip to a local salvage outlet. Set it up with the proprietor to provide a tour & to answer questions. Follow with lunch so that people can get to know one another.
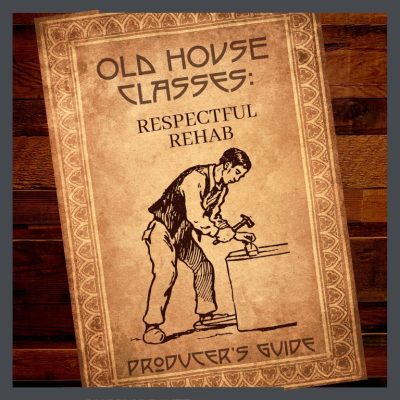 7. Host workshops that teach people how to restore & maintain their houses. Here you can read about classes that are offered in different parts of the country. There’s also a section about hosting your own. I’m still working on that manual!
You could partner with a non-profit on this or with a salvage yard. This event can be a good fundraiser.
8. Many neighborhoods host home tours. This is a tried & true method of revitalizing a blighted or transitioning neighborhood. Many have home tour committees in place, but if your neighborhood does not, I think it’s a great idea for a preservation committee & can be a big fundraiser.
I have another almost completed manual that walks you through the steps of producing a tour. (I think I need to focus!)
9. Connect with nearby historic neighborhoods that have related activities & team up with them. Encourage your team to help them at their events & request their participation in yours.
10. Your particular neighborhood will offer unique possibilities beyond what I am suggesting. Be alert to what your community’s needs & interests are & strive to respond to them.
READ THESE ARTICLES ABOUT FORMING YOUR OWN COMMITTEE
NEIGHBORHOOD PRESERVATION COMMITTEES- BUILDING COMMUNITIES
COMMITTEE MEMBERSHIP ACTIVITIES
MAKING YOUR NEIGHBORHOOD HISTORIC PRESERVATION COMMITTEE WELL KNOWN
AGENDA FOR YOUR FIRST NEIGHBORHOOD PRESERVATION COMMITTEE MEETING
BASIC HISTORIC PRESERVATION GLOSSARY OF TERMS
WHAT IS A HISTORIC DESIGNATION, ANYWAY?
Feel free to contact me if you need assistance on any of these activities or ideas that might better suit your neighborhood.
STAY IN THE BUNGALOW KNOW!!!
Sign up for our newsletter & receive our FREE E-book, 7 VITAL Things to Do Before You Hire a Contractor.